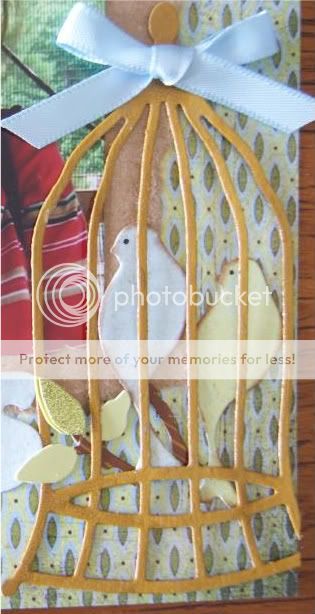
I absolutely love this bird cage. I painted it with crackle paint called "tarnished brass". I love this effect!I finally sent this little book to my friend Linda in Wisconsin!

I absolutely love this bird cage. I painted it with crackle paint called "tarnished brass". I love this effect!


My husband and I saw "hootie" in our backyard! A big thanks to Shar for sending me this beautiful quickutz owl cut from her collection of owl dies! I love the oak leaves from the exclusive bear quickutz die. They are so cute! I had fun creating the little ribbon pleats using my tombo adhesive and a patient eye! I stitched the two photos together using my embroidering thread and border template. I used the quickutz notebook die for journaling. I used rainbow quickutz font and doodled on the letters for an example of the Scrapbuggy July Challenge which is to get creative with your quickutz fonts on your projects! Come and participate! Just create a project using your creativity with your quickutz fonts and post your project in the message boards under "challenges and contests" and you will be automatically entered in a drawing for the month of July! Here is the link http://scrapbuggy.com/messageboard/
These are the pink champagne cupcakes I made for the retreat for Sue's birthday (Tracey-if you are reading this...thanks for the recipe!)! I was able to finish my entire honeymoon album. I borrowed Sue's Relax quickutz set and Spicy Chicken font. Love! I also used my Archiver's exclusive coconut (cut from wood paper) and tropical leaves.
My new t-shirt from a local scrapbook store in MN.
This little guy I bought for 2 dollars at Marshalls. It's a mini vacuum! It picks up those little paper snippets when you don't want to break out the big vacuum!
"What Style, What Grace, What a Silly Face!" Thought of my friend Shar and her Grandaughter Gracie when I saw this. And of course I had to buy it because it has vintage pictures of kittens!
Now this is really cool! Apparently a little company makes these paper grided sheets and "how to" books along with it. This is to line up your mosaic pictures! Really cool...just cut your picture into 1 inch squares and the paper has faint lines so you can put them on perfectly straight..instead of eyeballing it. You can fill up the whole sheet with more than one photo..and you don't have to stick with all 1 inch squares..you can throw in some bigger size ones and surround it with little squared pictures. I will be creating a layout to show an example soon! The company is "Mosaic Moments" by Tami Potter at www.tamipotter.com Check it out! Here is the creator's "how to" video from her blog. http://tamipotter.typepad.com/how_do_i/
Even though I am not a teacher, I still get to decorate bulletin boards! Talk about a large layout here! The school had their prom so I took pictures and made this using my polaroid qk diecut, damask border (halved), and Moxie Classic Font. I plan to hang this up at our health center where I work as a school nurse.
So I stopped by the local antique store to pick up more perches for my bird houses. I've been having a hard time finding the Tim Holtz hitches so I used my version. Apparently these were used as collar buttons. I found metal, shell, and wood ones! I guess that means more birdhouses! :) I also found old eyelets too!